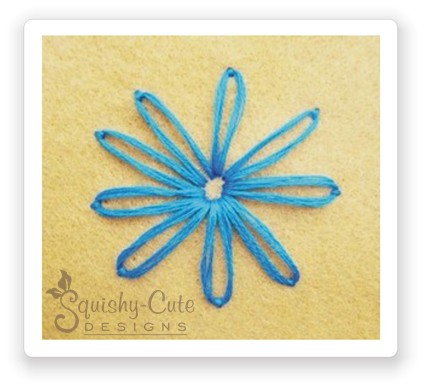
How To Do The Lazy Daisy Stitch

![]()
![]()
![]()
![]()
![]()

Click here to download the PDF version of these instructions

To start the lazy daisy stitch, bring your needle up from the back of the fabric.

Now send your needle back down through the fabric close to, or in, the same spot you just came up. See photo A. Then slowly pull the embroidery floss to the back, but leaving enough floss on the front of your fabric to make the loop of the “daisy petal”.


Next, determine the desired length of your “daisy petal” and then bring your needle up from underneath at that point. As you poke through the fabric, make sure that the needle is coming up on the inside of the loop. See photo B. Then pull the floss snug, but loose enough that you still have a nice petal shape. If you pull too tight, it will straighten out into a line, which is not what you want with this stitch.


The last step in completing your lazy daisy stitch, is to send your needle down on the outside of the loop. This stitch should be very close to, or in, the same hole that you just came up in step 3. See photo C.


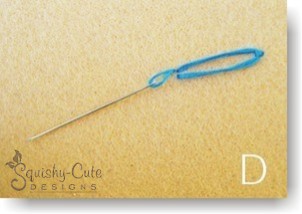
If you are making a complete “daisy” with this stitch, begin your next lazy daisy stitch by simply poking the needle back up where you had started on step 1. See photo D. Now follow steps 2-4 again.

The lazy daisy stitch is a loop stitch that can be used to create flowers, petals, leaves, and many other creative designs as well. It is also called a detached chain stitch.
![]()
Return to Helpful Hints from Lazy Daisy Stitch
Return to Home Page

