Felt Tree Stump Pattern
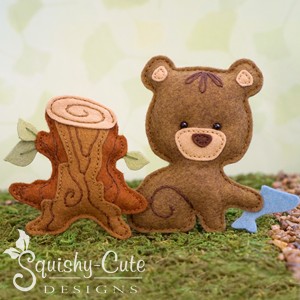
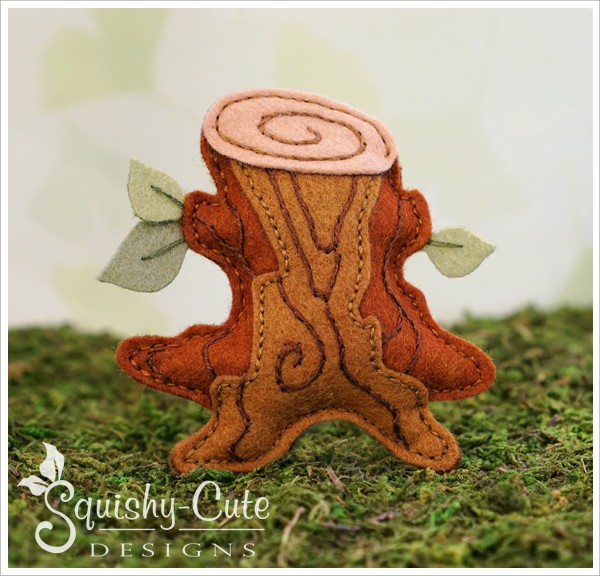
This cute little tree stump is a free bonus pattern that we designed especially for our Woodland Babies Collection of felt sewing patterns. Check out the easy step-by-step instructions provided below to learn how to make this darling little tree stump. You could use this stump pattern as part of a woodland mobile or as a fun little autumn decoration. Since this tree stump was created to go with our Woodland Babies Collection, it would pair nicely with any of those little critters. Be sure to visit our Woodland Babies sewing patterns to see our entire collection of these sewing patterns.
![]()
![]()

![]()
Download Free Stump Pattern
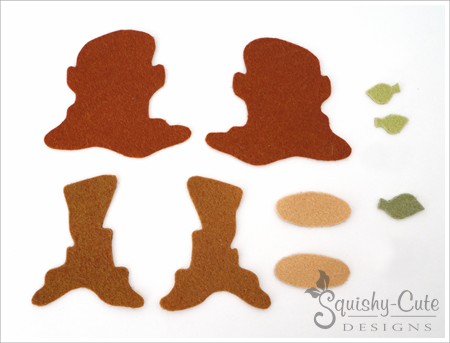

Cut Out Pattern Pieces
Download our free stump pattern and then cut all the pieces out of felt as indicated on the pattern page. See photo.

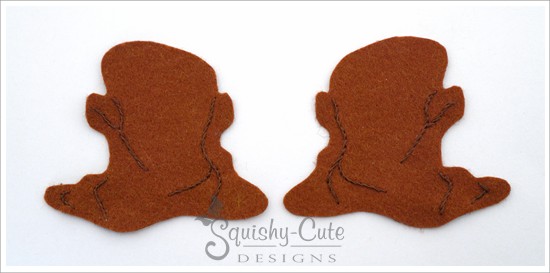
Sew wood grain on stump
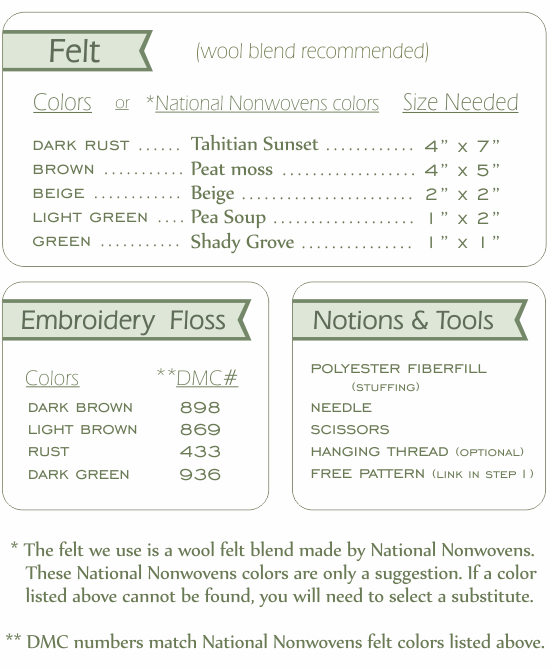
To get the wood grain in the right place, use the stump pattern piece as your embroidery guide. For help with transferring the wood grain onto your felt, see our Transfer Methods page. Now, stem stitch the wood grain onto the two stump pieces using 1 strand of dark brown floss (898). Knot the tail-ends together for a working thickness of 2 strands. Be sure to make the wood grain designs on opposite facing sides of the two stumps. See photo below.
![]()
![]()

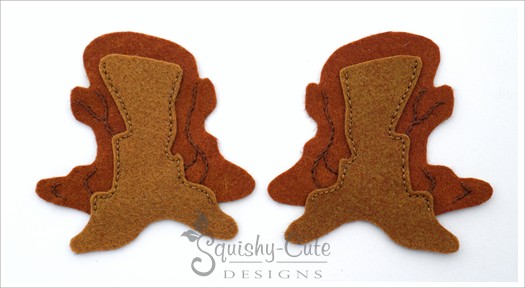
Sew front to stump
Using the stump pattern piece as a placement guide, place the front piece on top of the stump about 3/8” down from the top. See photo and stump pattern piece. Then using 1 strand (working thickness: 2 strands) of light brown floss (869), backstitch down both sides of the front piece about 1/16” in from the edge. Repeat this for the other side of the stump. Again, be sure that you make the two front pieces opposite facing.
![]()
![]()
![]()
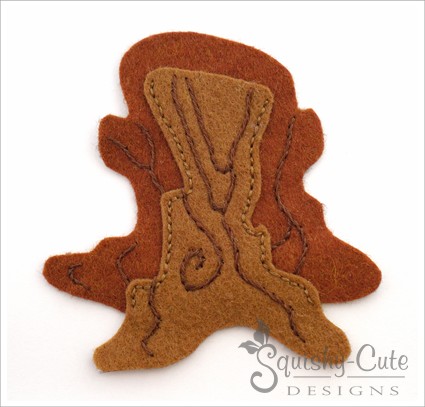

Sew wood grain on front piece
Using the front pattern piece as your embroidery guide and 1 strand (working thickness: 2 strands) of dark brown floss (898), stem stitch the wood grain onto the two front pieces.
![]()
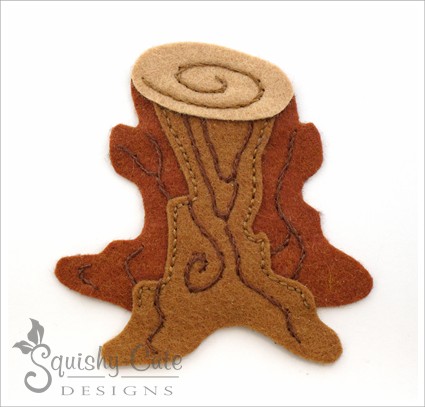

Sew top to stump
Place the top piece on the stump with the edges even. See photo. Then using 1 strand (working thickness: 2 strands) of light brown floss (869), and the top pattern piece as your embroidery guide, stem stitch the swirl onto the top piece. This will anchor it in place on the stump. Repeat this for the other side of the stump.
![]()
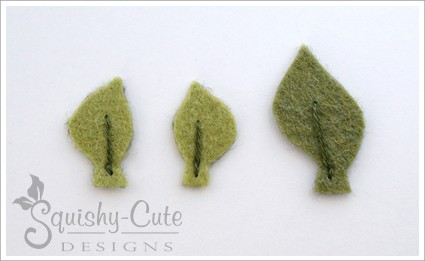

Sew leaf veins
Using 1 strand (working thickness: 2 strands) of dark green floss (936), make a single long stitch down the center of the leaves with your knot in the stem area.
![]()
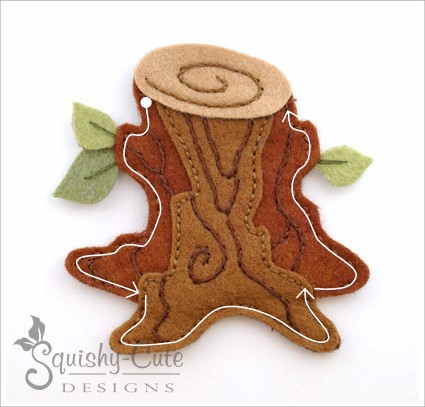

Sew stump together
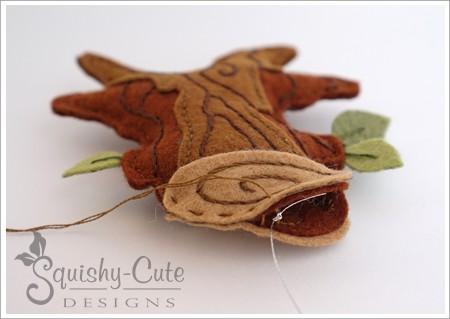
Place both stump pieces together with edges evenly lined up. With 1 strand of floss (working thickness: 2 strands), you will be sewing around the perimeter using the double running stitch. Start on the left side (just below the beige top piece) and use rust floss (433). Before you sew around the first curve, insert leaf A and one leaf B between the layers of felt. See photo. Then continue sewing down the stump. Switch to light brown floss (869) to sew along the base of the front piece. Then switch back to the rust floss to sew up the other side of the stump. As you reach the other branch stub, insert the other leaf B and then continue sewing to the beige top piece and stop. Now lightly stuff the stump.
![]()
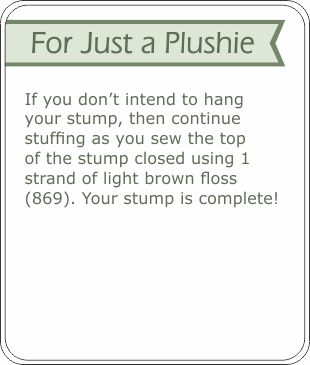
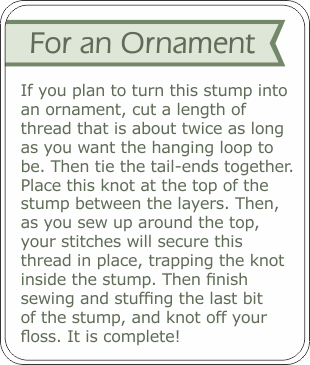
![]()
![]()
![]()
![]()
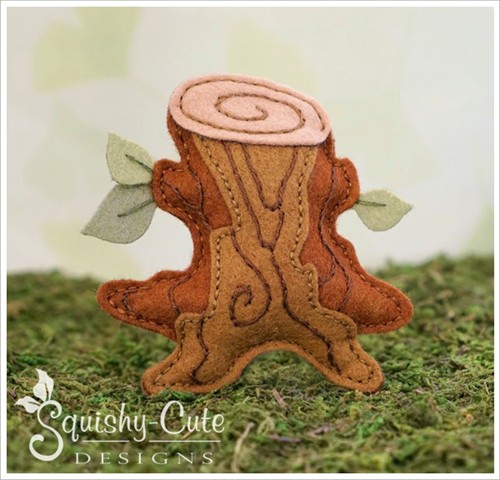
Your stump is now complete!
![]()
![]()
Check out our
Woodland Babies Collection
to purchase our baby animal patterns!
![]()
![]()
You may also like….
![]()
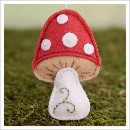
Now that you’ve made this cute little tree stump, why not sew up a felt mushroom to go with it?! The mushroom is another one of our free patterns for the Woodland Babies Collection. We also have a lot of other free sewing patterns that you might enjoy, so be sure to check them out!
Thank you for stopping by!
![]()
![]()
![]()


