How To Batik Fabric With Glue
Traditional batik is a wax-resist dyeing technique. It uses wax to prevent the dye from penetrating into the fabric where the wax is applied in order to create a design. You can find all kinds of beautiful batik fabric designs in fabric shops, but wouldn’t it also be really fun to create your own designs too?! You could make clever and unique gifts, and it even would be a fun activity for kids to try (with your supervision of course)! Well, we’ve described below how to batik fabric with glue so you can replicate this process, only using glue instead of wax. This makes it a lot easier as an at-home project, and makes it something kids can do as well. Just check out your local craft store for ready-to-dye products like purses, tote bags, shirts, aprons, hats, or even just plain white fabric for use in a future project. We made a variety of items using this glue batik technique, and they made really fun gifts to hand out to my friends!
![]()
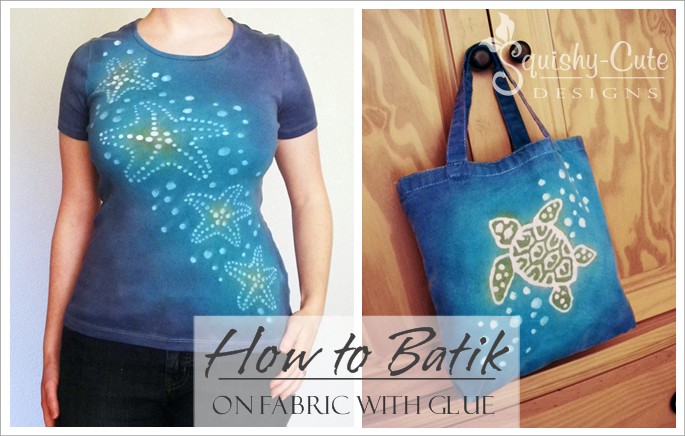
Learn How To Batik Fabric With Glue – see step-by-step instructions below!
![]()

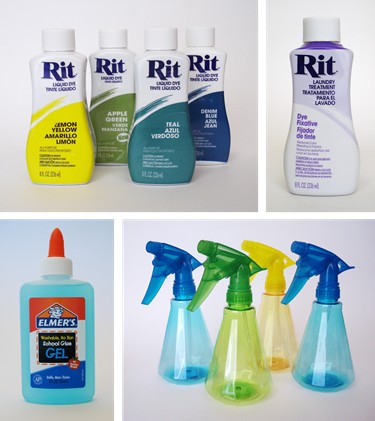
- Fabric (100% cotton)
- Washable Elmer’s Blue School Gel
- Rit liquid dye
- Rit liquid fixative
- Spray bottles
- Freezer paper
- Iron
- Plastic table cover
- Optional: permanent marker, stencils, bucket, stir stick, rubber gloves
![]()
![]()


Prepare Your Fabric
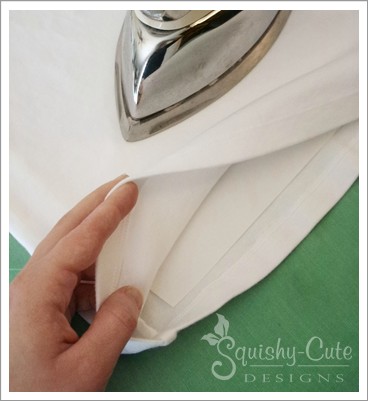
Always use 100% cotton because it absorbs the dye the best. Always pre-wash your fabric before dyeing to remove any sizing, dirt, grease, or finishes. Otherwise the fabric may resist the pigment bond or look blotchy. Wash in hot water with a detergent that is free of perfumes and softeners. Double rinse and then dry in your dryer. It is best to avoid using any dryer sheets or fabric softener. Then iron freezer paper to the underside of the fabric, shiny side toward the fabric. Iron on high with NO steam. The freezer paper will stabilize the fabric and make it easier to draw/design on. If you are dyeing a shirt, bag, or anything that is double-sided, it will also help prevent the glue from bonding to the other side of your item.
![]()

Choose A Design Method
Some ideas for how to create your designs on your fabric are: use stencils, iron-on transfers, lightly pre-sketch a design on with pencil, use a laser printer (see description below) or just free-hand on your design with glue as you go.
If you want to use a laser printer (NOT an ink jet printer), print out the design or words (mirror image, especially if using words) and place the paper ink side down on your fabric. Iron over the paper. Then, if you want a bold outline, trace over the lines with a permanent black marker or pen. Then place a cloth over the marker ink and iron over it with your iron on a medium high cotton setting and with no steam. Or place in a hot dryer for 10 minutes. This will permanently set the ink.
![]()

Apply Glue To Fabric
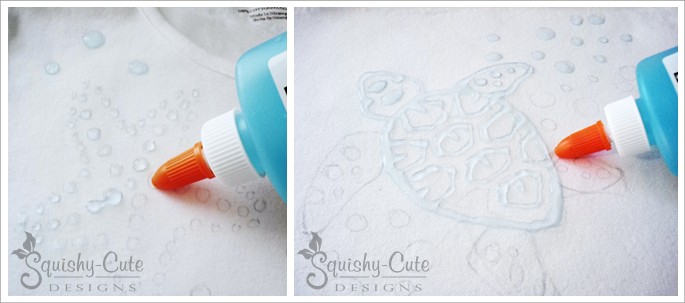
Apply glue along the lines of your design or fill in the designs with glue, or even use the glue to draw your design as you go if you are doing the free hand method. Remember that wherever the glue is applied, that is what will remain white (or the original fabric color).
![]()

Allow The Glue To Dry
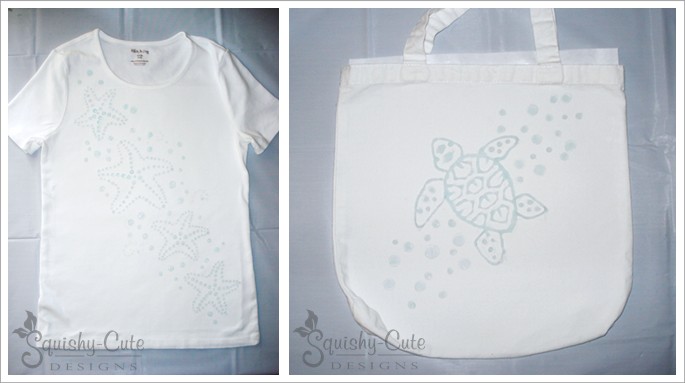
Allow the glue to dry completely. About 24 hours would be best, or at least overnight. For designs with larger glue areas, it may take even longer.
![]()
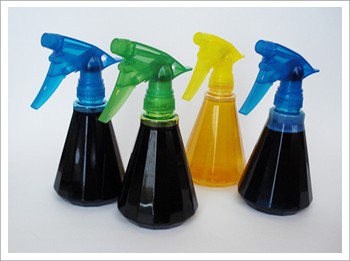

Prepare Spray Bottles
Fill spray bottles with dye and water as per the dye instructions. Also, according to Ritstudio.com, you may want to add salt to the spray bottles. This will make the colors more intense. Shake well.
![]()

Dye Your Fabric
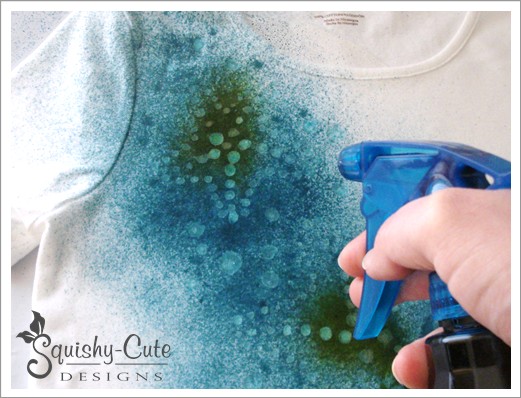
Leave freezer paper underneath fabric. Place your item on a table that has been covered with plastic and then spray on the dye. The dye can be applied however you want; you could make stripes or zigzags of color, a gradient of colors (ombre), or even just random splotches of different colors. Be sure to also apply the dye to the back-side of your item as well.
![]()

Allow The Dye To Dry
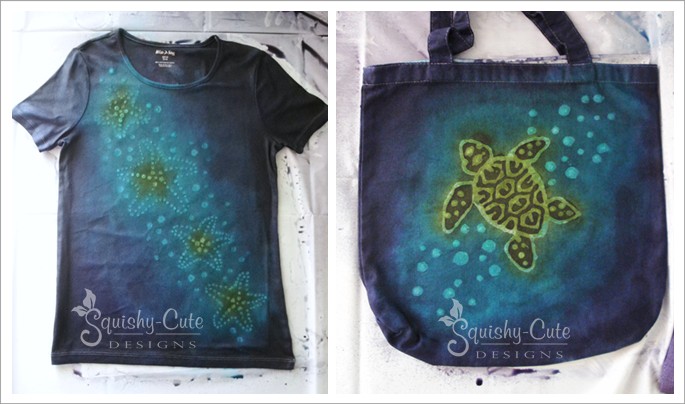
Let the dye set for at least 24 hours for best results. Dry the fabric flat (not hanging) so that the dye won’t run.
![]()

Treat With Dye Fixative
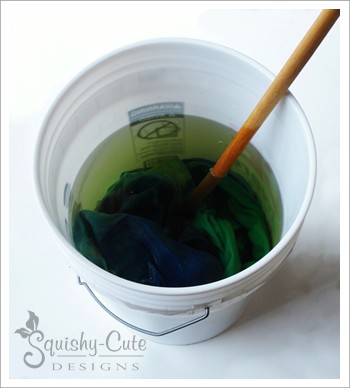
First, remove the freezer paper from your item. Then follow manufacturer’s instructions for the dye fixative. There are a few ways to use the fixative. We soaked our fabric in a bucket of hot water and stirred for 20 minutes. Then we rinsed in cold water. By this point the glue should have dissolved completely. But if any remains, simply rub it off. Let dry for 48 hours before washing.
![]()

Wash And Dry
Wash your item in hot water in your washing machine, and then dry in a hot dryer. Then rinse your washing machine immediately with hot water and detergent to clean out any remaining dye. Let it go through the full cycle.
![]()
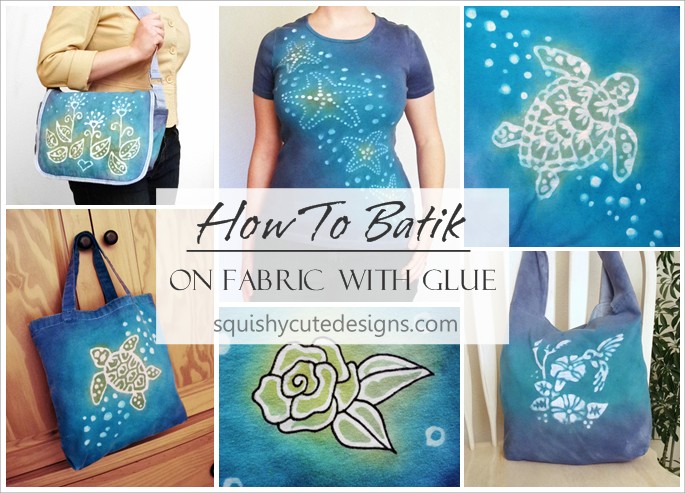
Here are some of the fun things we made…
![]()
You may also like….
![]()
We hope you’ve liked learning how to batik fabric with glue! Once you start designing and dyeing your batik projects, you might not want to stop. Well, at least that’s what happened to us! Once we finished our first few projects, we still had quite a bit of dye left over. So, we decided to buy more totes and shirts to dye, since we enjoyed it so much! We hope you will find it to be a fun project too!
If you would like to see more of our free projects, be sure to check out the ideas shown in the images above.
![]()
![]()

