
How To Do The Double Running Stitch
![]()
![]()
![]()
![]()
![]()
![]()

![]()
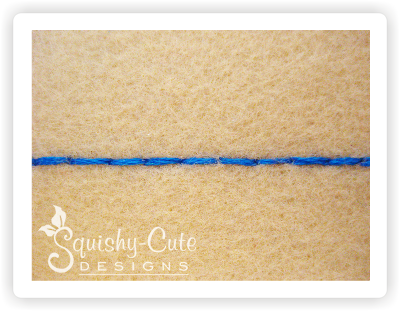
The double running stitch is simply a variation of the standard running stitch in which you sew along in one direction, and then turn around and double back to fill in the gaps. The double running stitch is also called the Holbein Stitch.
![]()
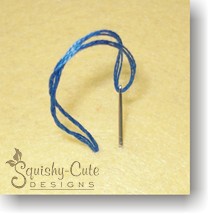

To start the double running stitch, bring your needle up from the back and then send it back down around 1/8″ – 1/4″ away from where you came up and pull the floss snug.
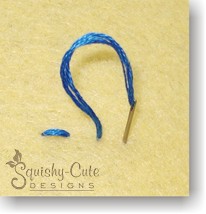

Now bring your needle back up again about 1/8″ – 1/4″ away from the previous stitch. The size of your stitches and the spaces between them are not too important, but just try to keep them consistent. And now send your needle down again, like before.
Steps 1 & 2 are simply the running stitch, so for further help and photos, please see our Running Stitch page.
![]()
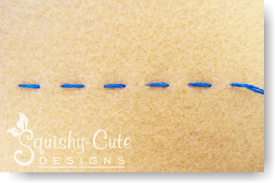

Continue stitching until you have either reached the end, or in the case of a continuous loop or circle, you have stitched the entire perimeter and you are back at where you started.
![]()
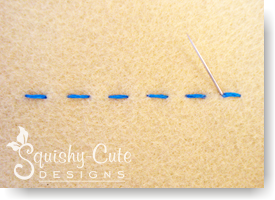

Now without knotting or cutting your floss, turn around and work your way back, filling in the gaps as you go. If you are sewing around a perimeter, then you simply sew around it twice, filling in the gaps on the second time around.
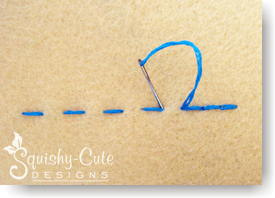
So when you are done, your double running stitch actually looks like the backstitch, except this stitch looks the same on both sides of the fabric. We prefer the double running stitch over the backstitch for seams on clothes because there are fewer knots, you can start the knots where they will be hidden, and the seam is tighter. The double running stitch is also perfect to use when the fabric is going to be viewed from both sides, because both sides look the same.
The double running stitch is an easy stitch that creates a solid line and looks the same on both sides.
![]()
Return to Helpful Hints from Double Running Stitch
Return to Home Page
